
Quick and Easy DIY Christmas Projects - JOY Wall Hanging
Posted by MyBarnwoodFrames Blog Team on Nov 19th 2015

The leaves have all blown off from the trees and the temperature is dropping. You’d love to get started on some fun, new holiday décor, but time is tight, and there just isn’t space on your calendar for a big, gnarly DIY project this year.
We may have a solution for you. Whether you want a fun project you can pull out while the men are snoozing off their Thanksgiving dinner, or whether you are just ready for a quick project to get you into the Christmas spirit, we’ve got a countdown of four fun projects you can put together in an afternoon.
Project #1: JOY Wall Hanging
This adorable Wall Hanging is quick to create and easy to hang. Be sure you get enough supplies for extras to give away as gifts.
Supplies needed:
- Two 8x10 barnwood picture frames (we recommend the Lighthouse Style Frame found here).
- One 8" circular holly or evergreen wreath
- 8" Chipboard Letter J and letter Y (purchase at your favorite craft store, or cut your own from cardboard or foamcore)
- Cardstock or scrapbook paper for picture frame background
- Holiday-themed wrapping paper or fabric
- Hot glue or spray adhesive
- Wire or heavy-duty ornament hook
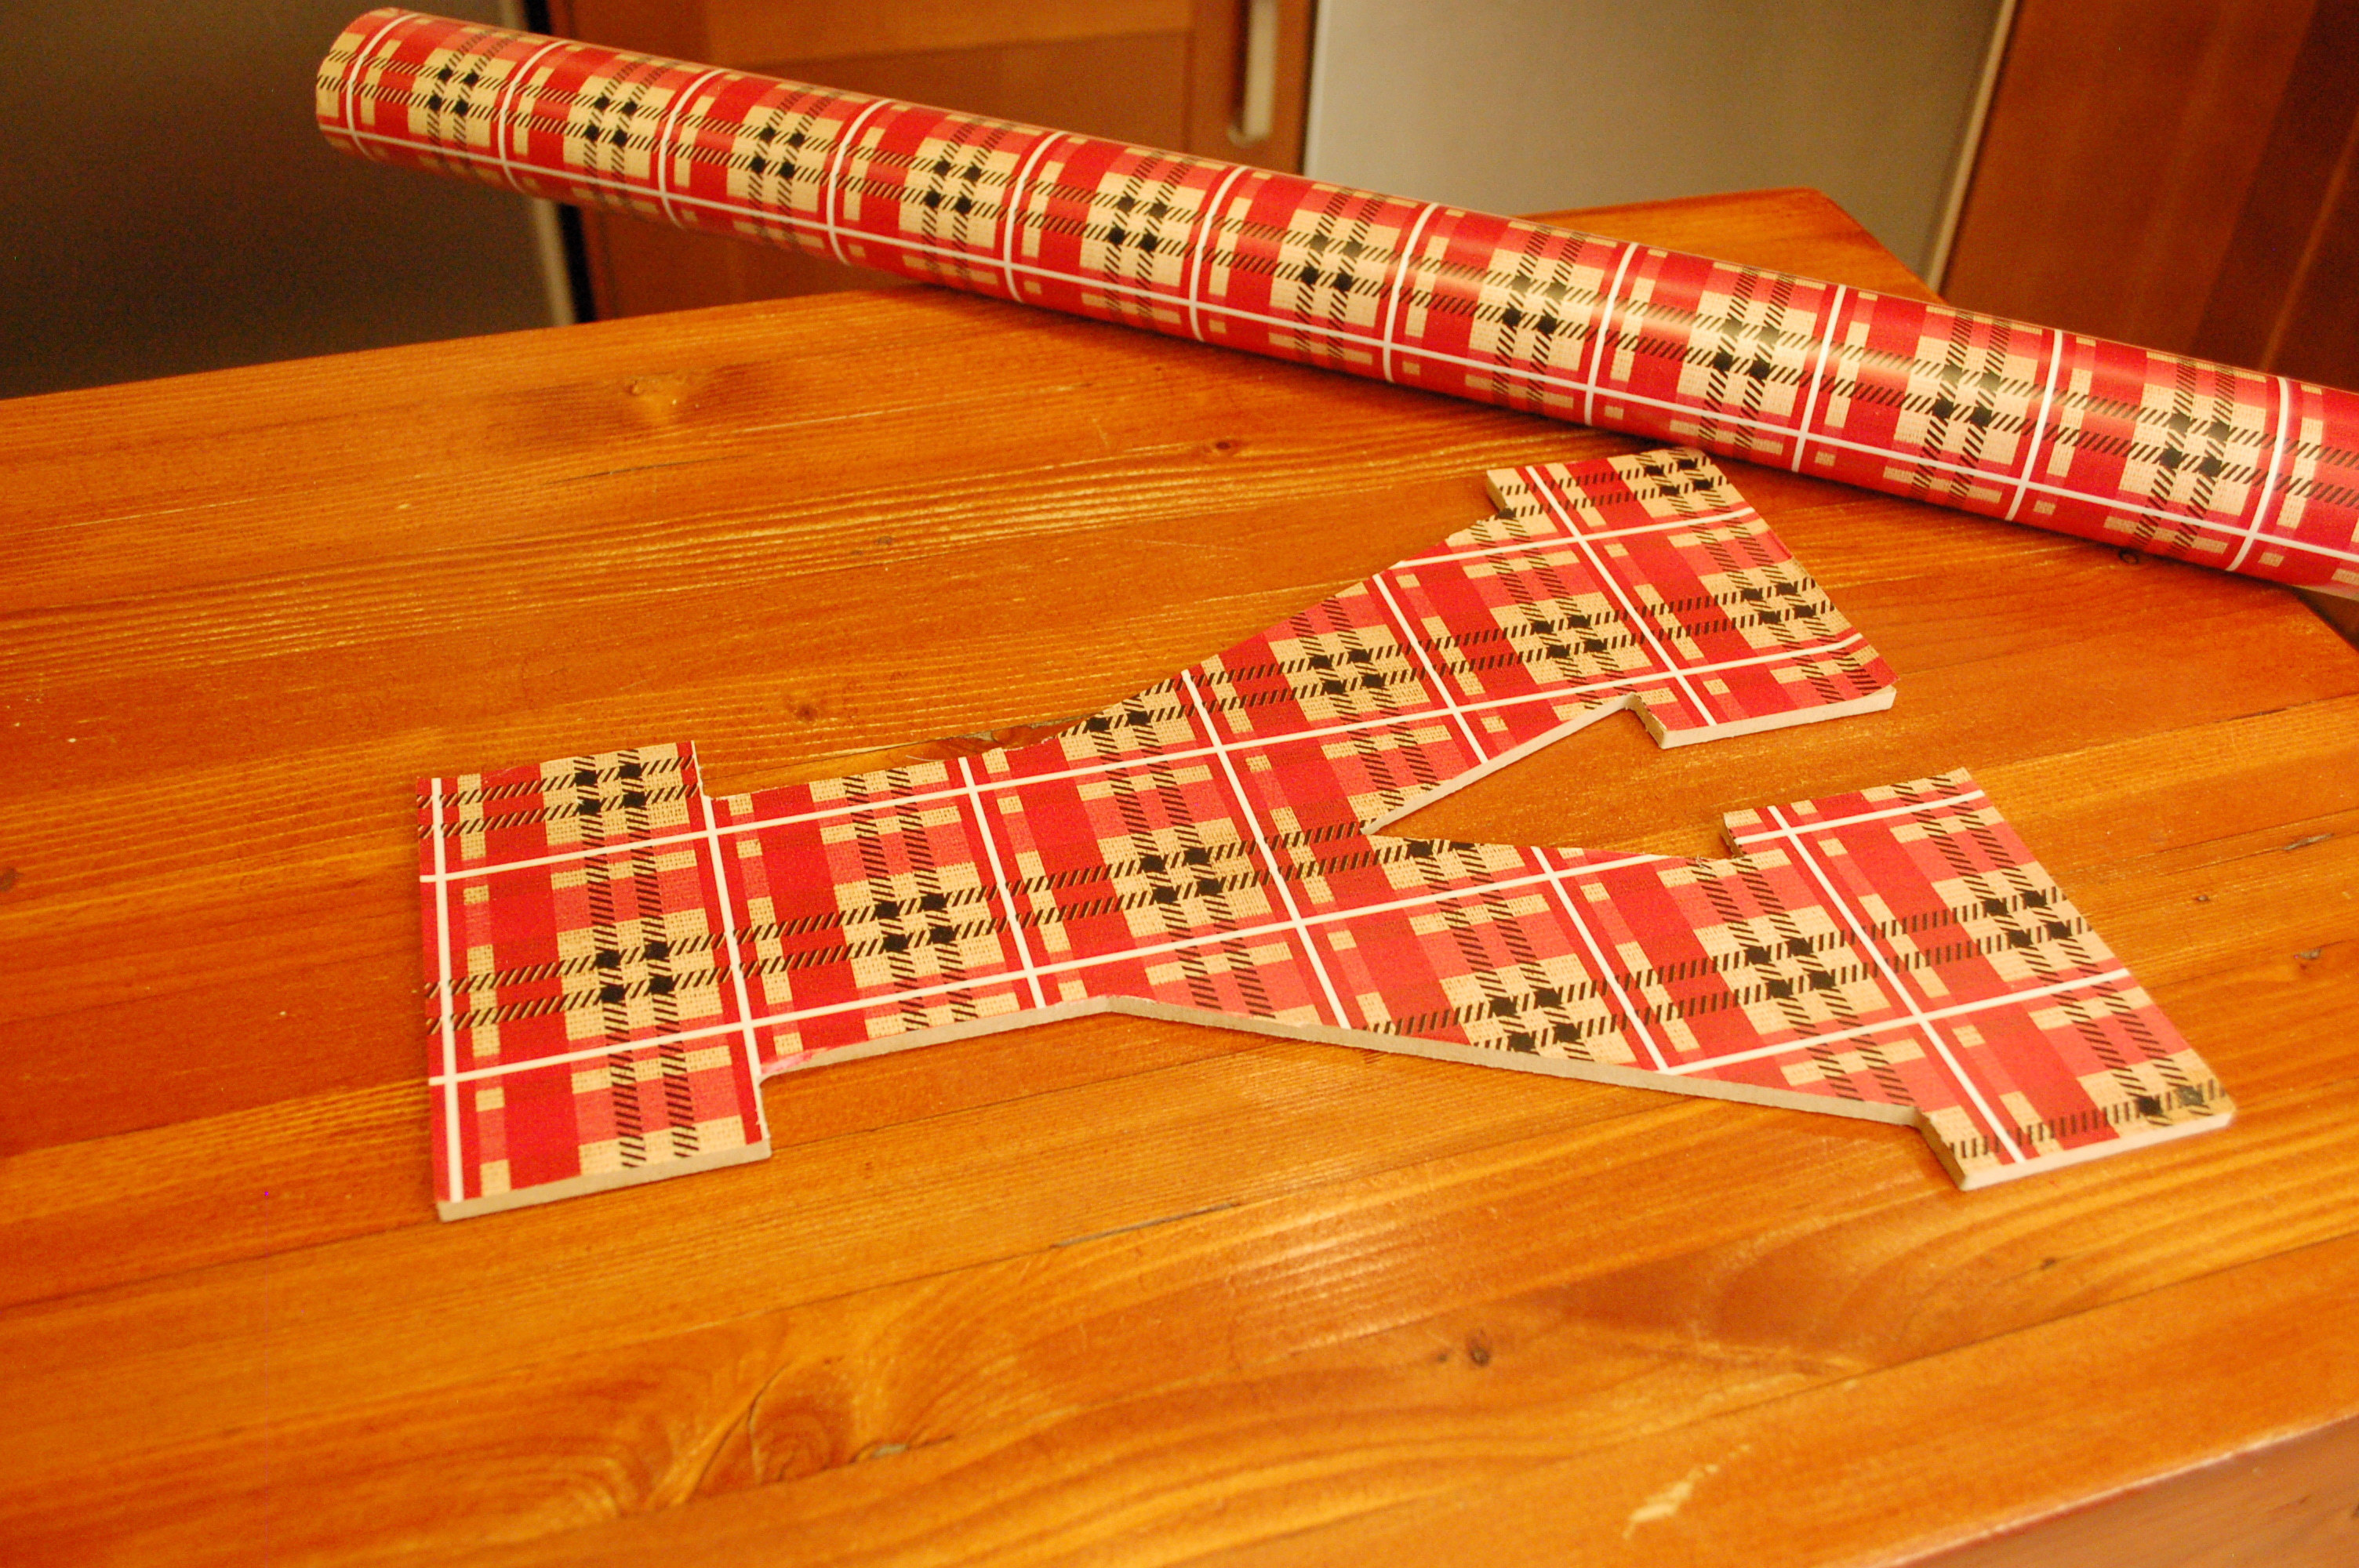
Step 1: Place your chipboard letter J and letter Y upside down on a piece of wrapping paper or on the wrong side of a fun piece of holiday fabric. Trace around the outside of the letter.
Step 2: Cut out the paper or fabric and adhere to the front of the chipboard letter with some spray adhesive.
Step 3: Remove the cardboard backing and glass from your reclaimed wood picture frame. Adhere the piece of background paper to the cardboard backing using the same spray adhesive and trim away the excess paper. We used white paper for a backing, but you can have fun and use a background color of your choice. Just make sure there's enough contrast between the background and the paper or fabric you used on your letters.
Step 4: Put the frame backing (covered with background paper) back into the frame, then center the letters in the opening of the picture frame. Glue in place with hot glue.
Step 5: If hardware was supplied separately with your frame, tap the sawtooth hanger into place on the back of the frame
Step 6: Attach a wire or ornament hook to the back of the evergreen wreath so that it can also hang over a picture frame hook.
Step 7: Mount your finished wall hanging then stand back and enjoy!.